[C++] Getting Started With Conan
Managing external dependencies and packages in C++ Projects was always a bit poor - at least for me. So far, the most satisfactory solution has been installing dependencies manually and using CMake’s find_package(…). The downside here still is, that you need to provide the root-variables for each package, so CMake can find the dependency. For instance: Googletest needs GTEST_ROOT with the corresponding location.
Once the project grows and the number of dependency increases, this introduces more and more variables. Every user needs to provide them for building the project, which makes this approach vague.
Other approaches with git submodules or CMake's external_project(...) weren't satisfying as well (multiple downloads in different projects of the same dependencies, big CMakeLists, longer build process, etc.).
After searching for best practices for C++ Package Management I came accross Conan, the C/C++ Package Manager.
This post covers the installation of Conan and a first basic example.
Installing Conan
The recommended way to install is using pip (if you are on Windows, make sure python and pip is installed). Then run:
pip install conanVerify the installation by simply running
conanand you'll see the help output from Conan.
Conan remote packages
Conan works with remotes to access packages. With this post we are using the default remote, conancenter. In future posts I'll dive deeper into Conan by using own libraries, creating Conan packages and setting up other remotes.
All available packages on a remote. After installing the default and only remote is conancenter as you can see by running:
conan remote listTo find available packages here, You can either checkout conancenter or use the search command for a specific one (like googletest which we'll use later):
conan search gtest -r conancenterThe First Project
You can find this Getting Started Project on Github.
We'll set up a simple project, where we just build a dummy unittest (see ./gtest/ExampleTest.cc) by using googletest. The project structure then looks like:
├── CMakeLists.txt
├── conanfile.txt
└── gtest
    ├── CMakeLists.txt
    └── ExampleTest.cc
Conan works with a conanfile.txt (or in an advanced way with conanfile.py), where are all dependencies from our project are listed. The syntax for required packages is <package>/<version> or by targeting other remotes/repositories it's <package>/<version>@<user>/<channel>. For now we'll continue by using the default user and channel. And as generator we want to use CMake.
Writing The Conanfile
The conanfile.txt contains the following content to access googletest in our project:
[requires]
gtest/1.10.0

[generators]
cmake
Writing CMakeLists
Now consider the two CMakeLists.txt. First we include the from Conan generated conanbuildinfo.cmake and execute the macro conan_basic_setup(). Then the dependend libraries are stored in ${CONAN_LIBS}, which is used in the ./gtest/CMakeLists.txt.
# ./CMakeLists.txt
include(${CMAKE_BINARY_DIR}/conanbuildinfo.cmake)
conan_basic_setup()

enable_testing()
add_subdirectory(${PROJECT_SOURCE_DIR}/gtest)


# ./gtest/CMakeLists:
set(target unittests)

add_executable(${target} ${CMAKE_CURRENT_SOURCE_DIR}/ExampleTest.cc)
target_link_libraries(${target} ${CONAN_LIBS})

add_test(NAME ${target} COMMAND ${target})
Before Building With GCC >= 5.1
If you are using GCC compiler >= 5.1 run the following command prior building
conan profile update settings.compiler.libcxx=libstdc++11 defaultConan sets up a default profile. Compiler, OS, arch, build_type, etc. are stored here. For the scope of this post we adjust the libcxx from libstdc++ to libstdc++11. For more information see 5. from the Conan Getting Started.
Use conan profile show default to show the default settings or conan profile -h to see further options and the file location.
Building The First Project
Before building the project with cmake we'll run conan. Run the following steps accordingly:
$ mkdir build
$ cd build
$ conan install .. --build missing
$ cmake -S ./.. -B ./
$ cmake --build ./
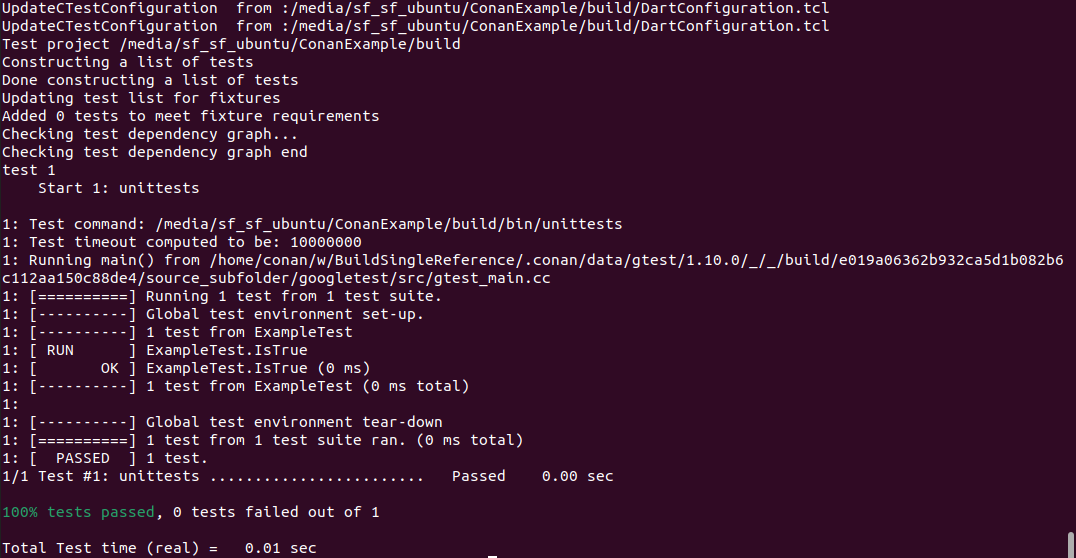
$ ctest -VVThis build passes and we can run the unittest (which is just dummy unittest, see ./gtest/ExampleTest.cc). The output after running ctest shall be the following.
Conclusion
At first I was a bit sceptical. But after using Conan and getting familiar with it, I started to like it. In my opinion this is a great option to get rid of big CMakeLists.txt, multiple CMake variables which i need to provide to a build or manual pre-installed libraries/frameworks.
In future posts I'll write about setting up own libraries and remotes to have a better practice for using Conan. Also if you want to use it profassionally with closed source libraries, the anser is here JFrog Artifactory.
That's it for now.
Best Thomas